Shopping Cart
There are no more items in your cart
- New
*** Out of stock ATM, Available On Backorder ***
Accessories
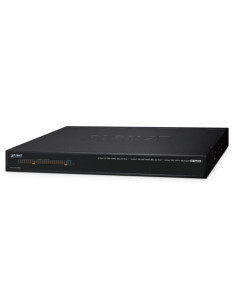
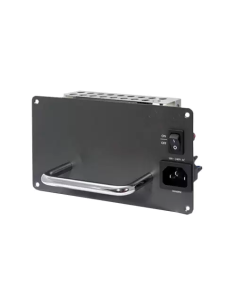
Planet MC-15RPS130 130W Redundant Power Supply, 100-240VAC for MC-1500R/R48
PLANET
MC-15RPS130
$192.50
Planet MC-15RPS130
130W Redundant Power Supply,100-240VAC for MC-1500R.
Power Requirement: 100-240V AC
Power Consumption: 130 Watts
TAA Compliant